Introduction to Installing Dirt Bike Graphics
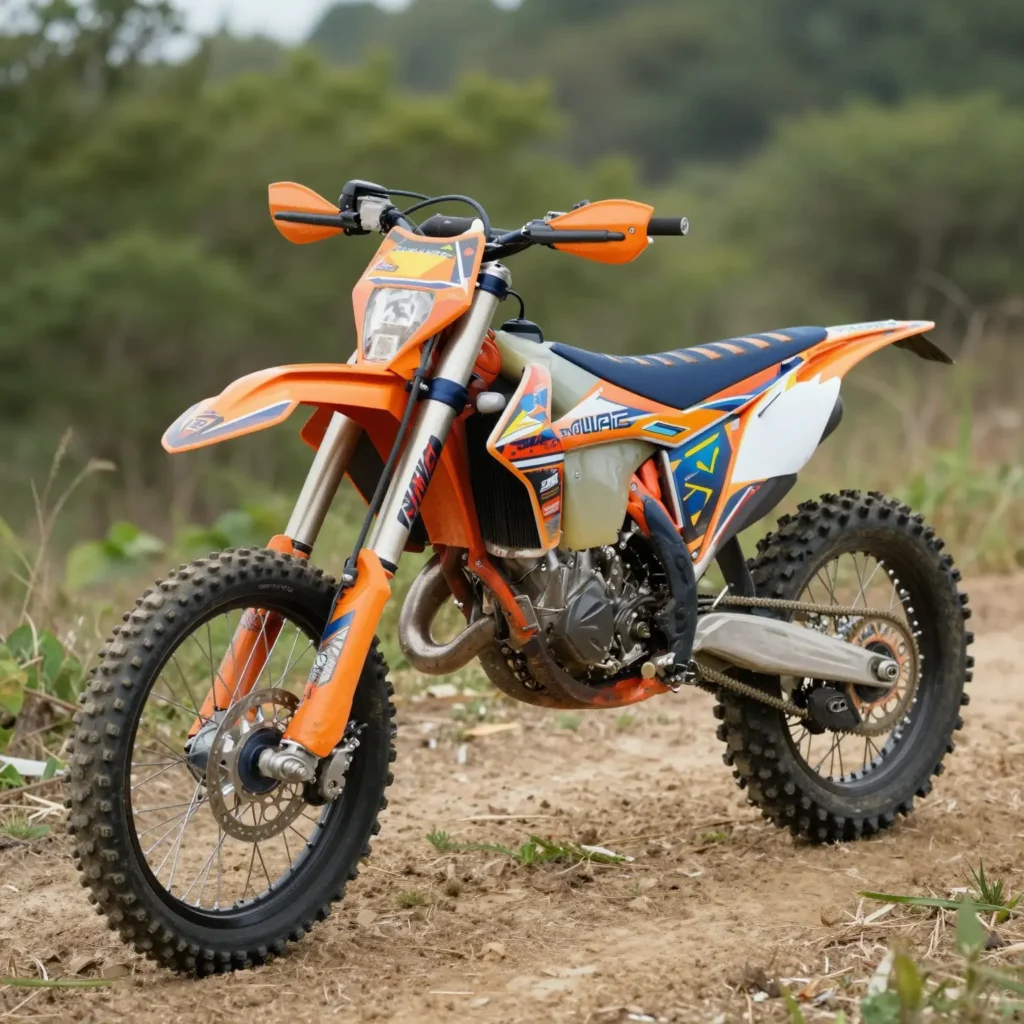
Installing dirt bike graphics is not just an opportunity to personalize your ride, but it’s also a crucial step in ensuring the longevity and performance of your motorcycle. The aesthetic appeal that custom graphics provide can transform a stock bike into a unique and eye-catching beast on the trails. Beyond mere aesthetics, these graphics serve an important protective function by shielding your bike from scratches, dirt, and UV damage. This is especially significant for those who regularly ride in challenging environments, where the elements can take a toll on unprotected surfaces.
There are various types of dirt bike graphics available on the market today, catering to different styles, preferences, and needs. From vibrant full-body kits to sleek number plates, the options are nearly limitless. Graphic kits can be made from durable materials designed to withstand the rigors of off-road riding, ensuring that your investment maintains its visual appeal over time. Each type of graphic can benefit the rider in unique ways, such as increased visibility from other riders or simply showcasing personal flair through custom designs.
Moreover, when considering dirt bike graphics, it’s essential to select options that offer high quality and durability. Many specialized designs come with advanced adhesives that ensure longer-lasting application while being easy to apply. For those looking for a fresh look or seeking to cover up previous damage, the installation process can be straightforward, especially with the right guidance and tools.
To explore the variety of graphics available, check our collection of bike graphics that cater to different models and preferences. Whether you’re an off-roading enthusiast or a casual rider, enhancing your bike’s appearance and protective capabilities with quality graphics can significantly elevate your riding experience.
Essential Tools and Materials for Installing Dirt Bike Graphics
Installing dirt bike graphics not only enhances the bike’s look but also protects its surfaces. Here’s a comprehensive list of essential tools and materials motorcycle owners and technicians will need for the installation process:
1. Cleaning Agents
- Isopropyl Alcohol (IPA): Used for degreasing and cleaning the surface of plastics before applying graphics. Ensures that the graphics adhere properly without contaminants.
- Surface Cleaner: A mild detergent or specific motorcycle soap can be used to remove dirt and grime.
2. Application Tools
- Squeegee: A plastic squeegee is vital for applying graphics smoothly and removing air bubbles during the stretch and adhere phase. Choose one with rounded edges to avoid damaging the graphics.
- Heat Gun or Hair Dryer: Heat helps make the graphics more pliable for easier installation, especially around curves and edges. A heat gun allows for precise heat application.
3. Adhesives
- Graphic Adhesive: While many graphics come pre-cut with specific adhesives, having additional spray adhesive can be beneficial.
- Double-Sided Tape: Useful for securing edges or in areas where additional bonding is required, especially if the surface is not perfectly smooth.
4. Cutting Tools
- Utility Knife or Scissors: For trimming excess material after application or for making precise cuts around detailed areas.
- Ruler or Measuring Tape: Essential for ensuring correct placement and alignment of graphics before adhering.
5. Other Materials
- Application Solution: Some installers use a mixture of water and a small amount of dish soap. This can help temporarily position the graphics before they adhere completely.
- Towel or Cloth: For drying surfaces and wiping away any excess cleaning solution before application.
Tips for a Successful Installation
- Preparation is Key: Ensure that the bike’s body is clean and dry before starting the installation process.
- Follow Manufacturer Instructions: Always check any specific guidelines provided with your graphics, including special adhesive tips or recommendations.
Relevant Resources
For purchasing high-quality dirt bike graphics, take a look at Motograpics’ vast graphic options or explore a variety of designs available for different models like KTM graphics.
By following these guidelines and utilizing the right tools and materials, you can achieve a professional-looking installation of dirt bike graphics that enhances both the appearance and longevity of your bike.
When it comes to applying graphics on a dirt bike, ensuring the surface is correctly prepared is crucial for achieving professional results. This process involves several steps, including cleaning, removing old graphics, and making necessary repairs. Here’s a detailed guide to help you get your motorcycle ready for the installation of graphics.
Step 1: Cleaning the Surface
Before any graphics can be applied, the bike’s surface must be thoroughly cleaned. Dust, grease, and dirt can prevent proper adhesion, leading to unsightly bubbles and premature peeling of the graphics. Here’s how to do it right:
-
Use a Dedicated Cleaner: Opt for a plastic-safe cleaner, preferably one that is specifically designed for vinyl graphics. Products like those from the Mopro Auto Wrap Care line ensure a clean surface for optimal adhesion.
-
Rinse and Dry: After applying the cleaner, rinse the surface with clean water to remove any detergent residue and dry it thoroughly with a microfiber cloth. Make sure no moisture or chemical residue remains, as this will interfere with the adhesive.
-
Final Wipe: A final wipe with isopropyl alcohol can be beneficial. This will ensure that all contaminants are removed and the surface is ready for graphics.
Step 2: Removing Old Graphics
If your dirt bike has previous graphics on it, these need to be meticulously removed. Here’s how you can tackle this:
-
Heat Application: Use a heat gun or a hairdryer to soften the old graphics. This makes peeling them off easier and minimizes damage to the plastic beneath.
-
Careful Peeling: Gently start peeling the old graphics off from a corner. If the adhesive is stubborn, apply more heat and continue to peel slowly.
-
Adhesive Residue: After removing old graphics, you may notice some adhesive residue remaining. For this, strong solvents or adhesive removers are recommended instead of soap and water. Products like brake cleaner can effectively dissolve leftover adhesive, ensuring the surface is pristine for the new graphics (Rivalink Design Co.).
Step 3: Surface Repairs
After the surface is clean and free of old graphics, inspect it closely for any damages. Scratches, dents, or cracks can adversely affect the graphics’ application and longevity.
-
Inspect for Damage: Look for any imperfections that need repair. Small scratches can be sanded down, while larger cracks might need filling with plastic repair kits suited for motorcycle use.
-
Sanding and Resealing: For minor imperfections, sand the area lightly and apply a primer or paint that matches the original color of your bike. Ensure this is fully cured before applying graphics.
-
Final Clean: Once repairs are complete, perform another cleaning routine to remove any dust inflicted during repairs.
Conclusion
Proper preparation of your dirt bike’s surface is paramount for a successful graphic application. By following these steps-cleaning, removing old graphics, and making necessary repairs-you can ensure that your new graphics not only look great but also adhere properly for increased durability. For quality graphics, check out the various options available at MotoGraphics Graphic Collections. Your hard work in preparation will pay off, resulting in a fresh, vibrant look for your ride!

Here’s a comprehensive comparison of different types of dirt bike graphics, focusing on their durability, cost, and ease of installation. The data reflects insights gathered from multiple sources in the industry.
| Brand | Durability | Cost | Ease of Installation |
|---|---|---|---|
| OMXGraphics | High – designed to withstand harsh conditions | $50 – $100 | Moderate – requires careful application |
| DeCal Works | Very High – optimized for longevity | $60 – $120 | Easy – comes with installation kit |
| Clement Cycling | High – focuses on resistant materials | $45 – $90 | Moderate – detailed instructions provided |
| Dirt Bike Fix | High – superior to stock graphics | $40 – $85 | Easy – designed for quick application |
| Backyard Design USA | High – customizable with lasting quality | $50 – $110 | Easy – online design helps ensure proper fit |
| Factory Effex | Moderate – reliable but may fade faster | $60 – $130 | Moderate – straightforward installation |
This table illustrates that while all brands emphasize durability, there are differences in cost and installation complexity. For more detailed options and to explore specific graphic kits, visit OMXGraphics or DeCal Works.
By choosing the right graphics for your dirt bike, you can enhance both its appearance and durability, ensuring that it stands out and lasts through the rigors of off-road riding.
Step-by-Step Guide to Installing Dirt Bike Graphics
Installing dirt bike graphics can enhance your bike’s look and protect its surface. In this guide, we will walk you through the process step-by-step, ensuring that you achieve a professional finish. Let’s get started!
Why Install Dirt Bike Graphics?
Dirt bike graphics not only enhance the aesthetic appeal of your ride but also serve practical purposes:
- Protection: They protect the bike’s plastic from scratches and UV damage.
- Personalization: Custom graphics allow riders to express their style and personality.
- Visibility: Bright and visible designs can boost safety on trails.
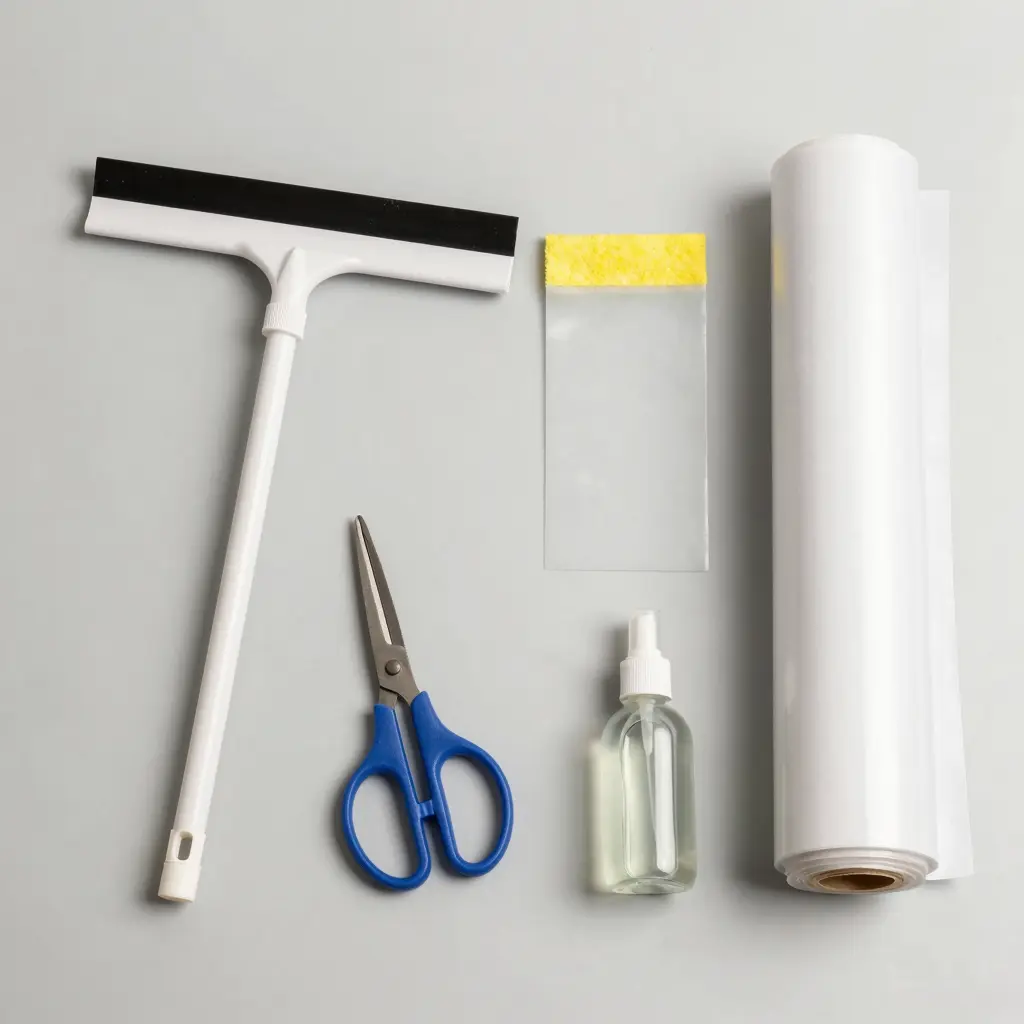
Tools and Materials Needed
Before you begin, gather the following tools:
- Cleaner (isopropyl alcohol or soap solution)
- Soft cloths
- Squeegee or credit card
- Sharp scissors or a utility knife
- Heat gun or hairdryer (optional)
- Tape (optional)
Step 1: Clean Up Your Bike
Ensure the bike’s surface is clean and free from dirt, grease, or old adhesive residue. A clean surface allows for better adhesion of the graphics.
- Tip: Use isopropyl alcohol or a soap solution to wipe down all surfaces that will receive the graphics.
- Learn more about cleaning techniques.
Step 2: Prepare Your Graphics
Once your bike is clean, take the graphics out of the packaging. Lay them out in an organized manner, checking all items are included. If the graphics are supplied with backing paper, leave them attached until you are ready to apply them.
Step 3: Position the Graphics
Before removing the backing, position the graphics on your bike without adhesive. This allows you to visualize spacing and alignment. Adjust as necessary. If you’re concerned about placement, use tape to hold them in place temporarily.
- Tip: For complex designs, consider consulting installation guides relevant to your graphics style.
Step 4: Start Applying the Graphics
Start from one end of the graphic and slowly peel the backing off while applying it to the bike,
- Use the squeegee: As you apply the graphic, use a squeegee to push out air bubbles and ensure adhesion. This should be done gently to prevent damaging the graphic.
- Heat application: If you encounter stubborn areas, lightly heat the graphic with a heat gun or hairdryer to make it more pliable, allowing for easier application over curves.
Step 5: Smooth and Trim
After applying the graphic, press down firmly to remove any air bubbles. Be methodical:
- Work from the center towards the edges.
- Once you have everything applied, trim any excess material around edges with sharp scissors or a utility knife.
- Don’t rush: Take your time to ensure a clean edge without lifting the graphic.
Step 6: Let It Set
Allow the graphics to set for at least 24 hours before exposing your bike to dirt, water, or heavy use. This time is crucial for ensuring proper adhesion.
Step 7: Maintenance and Care
Once installed, take care of your graphics to ensure they last:
- Avoid harsh chemicals when cleaning your bike’s graphics.
- If a bubble appears after installation, use a pin to puncture it and then push out the air with the squeegee.
- Regularly check edges: Ensure that edges are still adhered, especially after washes or rides.
Conclusion
Installing dirt bike graphics can be a straightforward process if you follow these steps. Not only does it enhance your bike’s appearance, but it also provides protection and personalization. For a variety of styles and options, check out our range of graphics at MotoGraphics.
Visual Aid
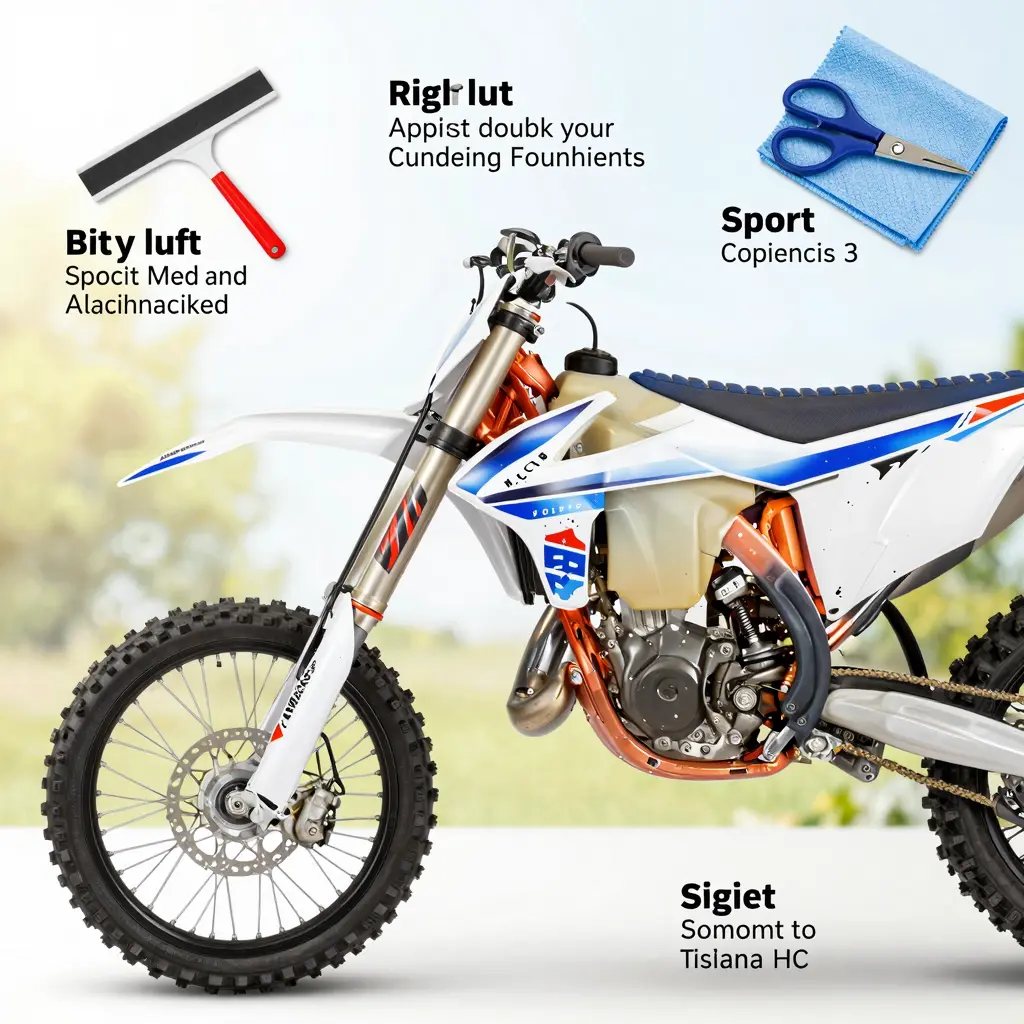
Now you are ready to get your dirt bike looking its best! Happy riding!
Common Mistakes to Avoid When Installing Dirt Bike Graphics
Installing graphics on dirt bikes can be a rewarding process, allowing motorcycle owners to personalize their rides. However, several common pitfalls can lead to frustrating results and potential damage to your bike. Whether you’re a motorcycle owner or a technician in a repair shop, being aware of these mistakes can make the installation smoother and result in a more professional finish. Below are some of the most frequent errors and tips on how to avoid them.
1. Failing to Prepare the Surface
The most crucial step in applying graphics is ensuring the bike’s surface is thoroughly cleaned. Dirt, dust, and grease can prevent the adhesive from adhering properly, which may lead to peeling or bubbling over time.
- Solution: Clean the surface with a mild detergent and water, then dry it completely. Use rubbing alcohol to remove any remaining oils or residues that may affect adhesion.
“Avoid skipping the cleaning step; it’s essential to a successful graphic installation!”
2. Skipping the Alignment Step
Another common mistake is not spending enough time on alignment. Graphics that are misaligned can result in a sloppy look.
- Solution: Take your time to position the graphics correctly before fully adhering them. Use a measuring tape or ruler to ensure even spacing and proper alignment. Tack the graphic in place with blue painter’s tape temporarily before the final application.
3. Not Utilizing Heat Properly
Heat can be your friend during the installation process. Many technicians neglect to use heat when applying graphics, which aids in conforming the graphic to the bike’s contours and helps eliminate air bubbles.
- Solution: Use a heat gun or hairdryer on a low setting to warm the graphic slightly before applying it. Be cautious not to overheat or scorch the material.
4. Ignoring Temperature and Weather Conditions
Installation in improper temperature or weather conditions can significantly impact the adhesion capabilities of your graphics.
- Solution: Aim to apply graphics in conditions between 65°F to 85°F (18°C to 29°C) for optimal adhesion. Avoid extremely humid or cold days, as they can cause adhesion issues.
5. Rushing the Application
Rushing through the application can lead to mistakes such as trapped air bubbles or wrinkles. This can be particularly damaging for novice installers.
- Solution: Set aside ample time to do the job correctly. If you’re feeling rushed or tired, consider waiting until you can focus fully on the task.
6. Using the Wrong Tools
Many motorcycle owners and technicians use inappropriate tools, risking the graphics’ quality or damaging the bike.
- Solution: Invest in a quality squeegee, heat source, and sharp blade for trimming excess material. These tools will enable you to apply the graphics professionally and effectively.
7. Not Taking Advantage of Bubbles Removal Techniques
Air bubbles are an inevitable part of graphic applications. If not dealt with, these can ruin the aesthetic and lead to peeling.
- Solution: Use a pin to puncture the bubble and then press the air out gently with a squeegee. Alternately, you can use heat in combination with gentle pressure to eliminate bubbles.
8. Overlooking Edge Sealing
Failure to seal the edges can result in poor longevity of the graphics, as dirt and moisture may seep underneath, causing lift.
- Solution: Use a sealant or spray around the edges after installation, or consider using edge protectors designed to secure graphics. This adds to durability and longevity.
Conclusion
Avoiding these common mistakes will help you achieve a successful and attractive graphics installation on your dirt bike. Whether you’re a hobbyist or a professional technician, patience, preparation, and the right tools are fundamental to the process. For high-quality graphics, you can explore our collection at MOTOGRAPICS for suitable designs that match your style and preferences. By focusing on these key areas and following best practices, you can enhance the look of your motorcycle and enjoy your ride even more.
Personalizing Dirt Bike Graphics
Customizing the graphics on your dirt bike is an exciting way to make your ride unique and reflect your personality. Here are various options for personalizing dirt bike graphics, including color choices and design flexibility.
Customization Options
- Color Choices
One of the most impactful aspects of customizing dirt bike graphics is selecting the right color scheme. Depending on your style, you can choose bold colors for a vibrant look or muted tones for a more understated appearance. Popular color combinations include:
- Electric Blue and Neon Green: Perfect for visibility and a dynamic look.
- Matte Black with Red Accents: Offers a sleek and aggressive aesthetic.
- White and Bright Yellow: Provides a fun and playful vibe.
- Design Flexibility
Graphic designs can vary widely, from intricate patterns to simple logos. More brands are now allowing for online customization, giving riders the chance to design their graphics. You can:
- Use Pre-Designed Templates: Many companies provide templates that can be modified with your choice of colors and logos.
- Create Unique Graphics: If you have a specific vision, some services will collaborate with you to design a completely custom look.
Trends in Dirt Bike Graphics
Staying informed about the latest trends in dirt bike graphic design can ensure that your bike remains stylish and relevant. Recent trends include:
- Sustainable Materials: More manufacturers are focusing on eco-friendly printing and material options.
- Bold and Unique Patterns: There is a growing preference for unique patterns, such as animal prints or abstract art.
- Incorporating Social Media: Some riders incorporate personal social media handles within their graphics to promote their profiles.
Benefits of Custom Graphics
- Individuality: Customized graphics enable you to express your personal style.
- Enhanced Visibility: Bright and unique designs improve visibility on the track or trail.
- Brand Representation: Personal graphics can showcase sponsors or personal brands effectively.
Trusted Providers for Custom Graphics
Many providers offer excellent graphics customization services. Here are a few notable mentions:
- Backyard Design USA: This platform allows you to design custom graphics online with quality materials and rapid proofs.
- DeCal Works: Known for their flexible designs that can fit various model types, perfect for ensuring that your custom graphics look their best on your bike.
By investing in high-quality dirt bike graphics and opting for personalized designs, you can create a bike that’s not only eye-catching but also uniquely yours. Whether you’re hitting the trails or the track, a custom design will set your ride apart and make it a true reflection of your personality and style.
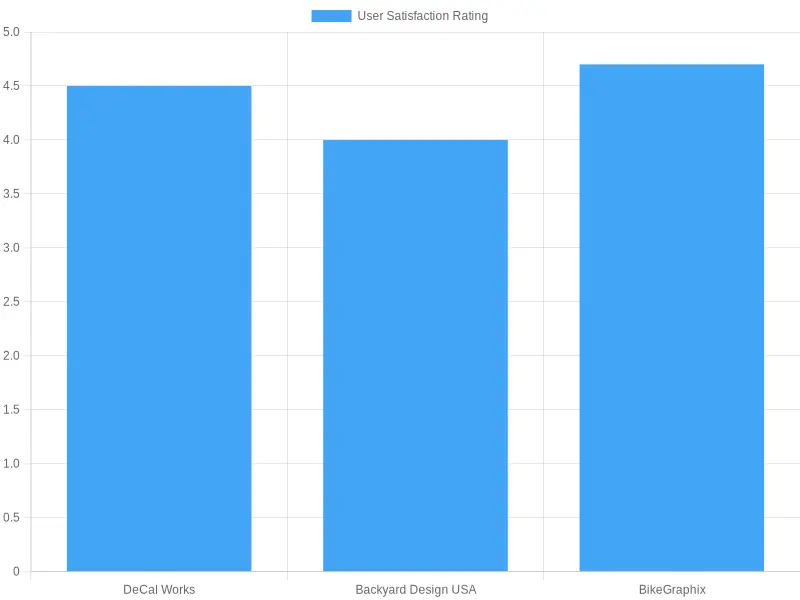
User Satisfaction Ratings for Dirt Bike Graphic Brands
Understanding customer satisfaction is crucial when it comes to selecting dirt bike graphics. Here’s a summary of user ratings for popular graphic brands:
| Brand | User Satisfaction Rating (out of 5) | Source |
|---|---|---|
| DeCal Works | 4.5 | Vital MX |
| Backyard Design USA | 4.0 | User Reviews |
| BikeGraphix | 4.7 | BikeGraphix |
These ratings are derived from customer reviews and give a clear indication of which brands are favored among motorcycle enthusiasts. Consider these ratings when you make your selection for dirt bike graphics to ensure you invest in a product that meets your satisfaction needs.
Conclusion: The Benefits and Steps of Installing Dirt Bike Graphics
In summary, installing graphics on your dirt bike is not merely an aesthetic enhancement; it’s a transformation that adds personal flair and character to your ride. The installation process involves several key steps: preparation, aligning, and applying the graphics carefully to ensure a perfect fit. Proper preparation is crucial, as it ensures that the graphics stick well and are durable, ultimately enhancing your bike’s appearance and longevity.
Key Benefits of Installing Dirt Bike Graphics
- Customization: Graphics allow riders to express their unique style and personality. Custom designs make each bike different, reflecting the owner’s tastes. For options, explore Motor Graphics’ product categories.
- Durability: High-quality graphics protect your bike from scratches and the elements. Investing in quality ensures the graphics last longer, maintaining the bike’s visual appeal.
- Easy Installation: Many guides encourage DIY installation, making it an accessible project for most riders. Following the recommended steps can lead to a satisfying outcome, and errors are easily correctable with practice. Check out this step-by-step guide for successful installation techniques.
Call to Action
Are you ready to give your dirt bike a fresh makeover? Whether you’re keen to attempt the installation yourself or prefer to let the professionals handle it, the benefits of having vibrant graphics are undeniable. Try installing graphics yourself using our guides or consult the pros for flawless results. Either way, embrace the individuality that your new graphics will bring to your ride!