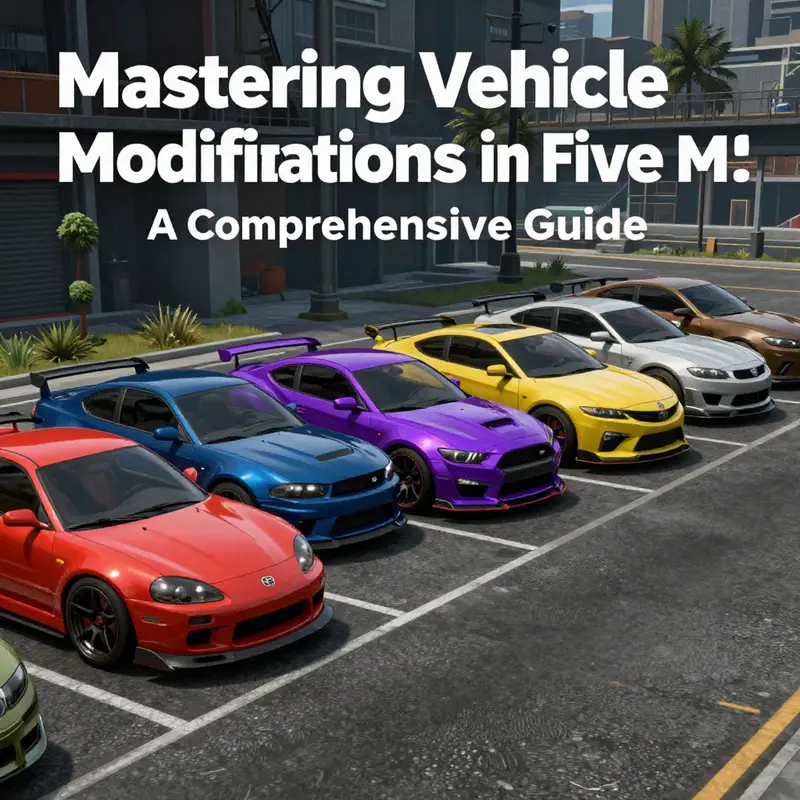
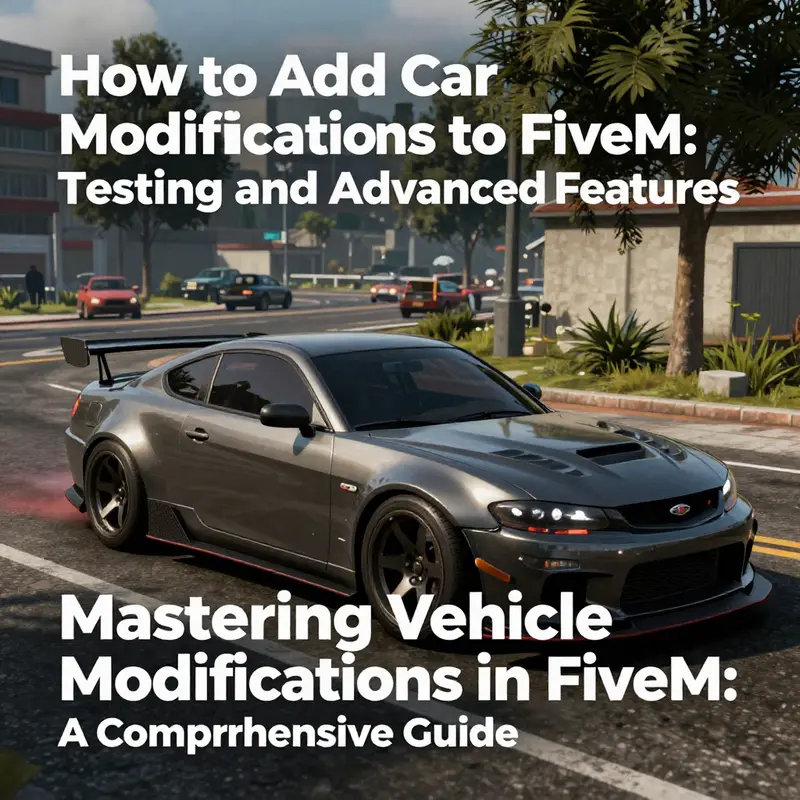
Car enthusiasts, tuners, and modders share a common passion: transforming their vehicles into unique and personalized machines. Adding car modifications in FiveM not only enhances the gaming experience but allows for the expression of individuality on the digital streets. This guide dives deep into the nuances of car modding in FiveM, covering everything from preparing vehicle files and proper file placement to integrating command options for vehicle spawning and testing advanced features. By the end, you’ll have a robust understanding of how to elevate your FiveM experience with custom vehicle modifications.
From Mesh to Server: Preparing Vehicle Files for FiveM Car Mods
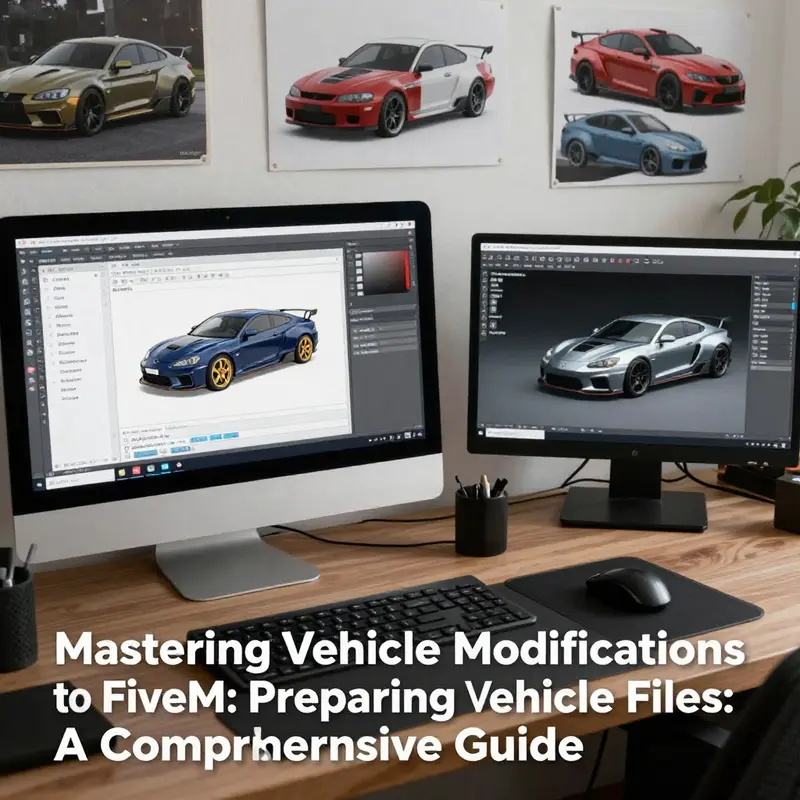
Preparing your vehicle files is the foundation of a stable and playable car mod on FiveM. This chapter walks through the practical steps that turn a 3D model into a properly organized resource the server can load. Read this as a continuous workflow: modeling considerations feed into export choices, which inform folder structure and metadata, and that, in turn, determines how the server recognizes your vehicle and its parts.
Start at the model. A successful car mod begins with a clean, optimized mesh. Keep polycount reasonable for the target use. Focus on clean topology and correct smoothing to avoid shading artifacts in-game. Map each material to the correct UV space and make sure textures are packed logically. If the car will include moving parts, create a simple rig with bones for each animated element. Name bones clearly so scripts can reference them later. For lights and emissive surfaces, ensure the mesh has separate material islands or identified texture channels. That clears the path for emissive maps and shader-driven effects.
Textures must be packaged in formats the engine accepts. Use compressed texture atlases when possible. Separate diffuse, normal, and emissive maps to keep things flexible. If you plan on advanced visuals like video sequences on a body panel or animated UV effects, export texture sequences or tiled atlases that can be streamed or referenced by a shader. Keep texture names consistent with the model naming convention. Consistency prevents runtime errors when the server expects a specific resource name.
Exporting to game-ready files requires an exporter that writes the engine-specific formats. When exporting, verify mesh scaling and orientation. Most engines expect a forward axis and unit scale; a mismatch here results in flipped or tiny models in-game. Export LODs (level of detail) for distant rendering. At least two LOD levels reduce draw cost and improve performance on populated servers. Name LOD files using a predictable pattern so the resource loader finds them automatically.
Once the assets are exported, assemble them in a resource folder. This is the server’s entry point for your mod. Create a single folder under the server’s resources directory with a clear name. Inside, organize assets into subfolders: models, textures, sounds, and animations. A typical layout looks like this:
/resources/your-vehicle-resource-name/
- meta.xml
- models/
- yourcar.yft
- yourcar_lod1.yft
- textures/
- yourcar.ytd
- yourcar_emissive.png
- handling/
- handling.meta
- animations/
- spoilers_anim.ymt
- sounds/
- engine.ogg
The meta file at the root of the resource is the single most critical file. It tells the server which files to load and how to treat them. In this file, declare each model, texture, and additional component. Use descriptive entries and keep names matched to filenames. The meta file is also where you define component lists for replaceable parts. If the vehicle supports custom spoilers, bumpers, or lights, list them as components. Doing so lets vehicle menus and customization scripts know what parts can be swapped.
Handling parameters live in a separate handling file. The handling file affects physics, top speed, acceleration, and braking. If you reuse an existing vehicle’s handling as a baseline, ensure the handling hash matches whatever the server expects. Mistyped handling entries or missing hashes lead to odd driving behavior or fallback to default physics. Keep a comment or small notes inside the handling file that explain changes you made to key parameters. Future troubleshooting gets much easier with a short change log.
If your vehicle has lights or animated parts, prepare the animation and light definitions alongside the model. Animated bones exported with the mesh must match names referenced by scripts. Lights that rely on emissive textures should be paired with a small script to toggle emissive values at runtime. For dynamic lights, define light objects in the meta entries and assign them to the model. Lights often require both a mesh definition and an associated script to control states like blinkers, headlights, and brake lights.
Naming conventions are essential. Adopt a consistent scheme for model names, texture names, and component names. Use lowercase, underscores, and avoid spaces. Keep the resource folder name short and unambiguous. If multiple people work on the server, a predictable format prevents accidental overrides. Duplicate model names across different resources cause conflicts when the server loads multiple resources. Always prefix custom model names with a resource identifier when possible.
After assembling assets and metadata, validate paths. Relative paths in your meta file must point to the correct subfolders. A missing slash or a wrong filename will block the resource from loading. Use the server console to watch for load-time errors. The console shows missing asset complaints and XML parse errors. Address the first error the console reports; many subsequent errors often cascade from that initial failure.
Performance considerations should guide your file choices. Opt for lower-resolution textures where the asset won’t be inspected up close. Combine small texture maps into atlases to reduce texture binds. Use simplified collision models for physics. A complex visual mesh can be paired with a simpler collision mesh to keep collision checks fast. LODs, as mentioned, reduce rendering cost at distance. If your resource includes many variants, consider streaming some assets only when requested. Streaming reduces initial server memory load and improves startup times.
Version control and backups are non-negotiable. Keep a copy of the entire resource in a versioned repository. Tag stable releases so you can revert if a new change breaks gameplay. Before adding a new vehicle to a live server, test it on a development server. This prevents players from experiencing missing textures or crashes due to misconfigured meta entries. A simple test checklist should include model visibility, texture correctness, handling behavior, and component swapping.
Security and file provenance matter. Only use assets from trusted sources or those you created. Malicious files can affect server stability. Scan downloaded archives before unpacking them into the resource folder. Keep third-party assets in a separate folder and audit them before integration.
When the resource is ready, register it in the server configuration. Add a start or ensure line to the configuration so the resource loads at boot. For on-demand testing, you can start the resource while the server is running through the server console, then connect as a player to verify the vehicle spawns and behaves as intended. Monitor server logs for warnings and note any missing dependencies.
Troubleshooting tips are straightforward. If a model appears invisible, check texture references and the meta file. If a vehicle uses default handling, verify the handling meta entry and the handling hash. If animations don’t trigger, confirm bone names match between exported animations and the model. Use the server console as your first diagnostic tool. Log entries often point directly to the problem file or XML line.
Finally, document the resource clearly. Include a readme that lists included files, installation instructions, and known limitations. If the vehicle uses animated parts or custom shaders, explain how to enable their scripts and what permissions are needed. Good documentation reduces support time and helps future contributors maintain the resource.
If you want a practical, short read on installing modifications to a vehicle, see this guide on how to install modifications car for basic, real-world steps and safety considerations: how to install modifications car.
For the definitive technical reference on vehicle asset formats and server behavior, consult the official FiveM vehicle documentation. It lists accepted file structures and loading instructions in detail: https://runtime.fivem.net/docs/#/resources/vehicle
From File Placement to Real-World Drive: Mastering FiveM Vehicle Modifications
When teams build a custom FiveM experience, the engine that truly makes the world feel alive is the vehicle mod. It isn’t enough to imagine a new ride or a brighter tail light; the process must be precise enough to leave a server stable, predictable, and easily maintainable. This chapter traces a cohesive path from the moment you acquire or create a modified vehicle to the moment that vehicle exists in the game world, ready to be tested by players who expect realism, performance, and a sense of identity in every mile. The core idea is straightforward: you assemble a small, self-contained package of files, place it in the right place, and tell the server to load it. Everything beyond that—how a mod behaves in the chassis, how its lights react to the player’s presence, how it appears in a garage or on a street—depends on careful configuration, testing, and a willingness to iterate.
The file formats you will encounter are the backbone of this process. A modified car is usually delivered as a collection of model and data files. The model file, often with an extension like yft, describes the exterior geometry. The interior geometry might be stored in a ydr, if applicable. A ymap defines the vehicle’s placement and how it appears in the world, and a meta file carries the configuration that tells the game how the vehicle should behave—its name, handling, physics attributes, and performance characteristics. In some pipelines, you’ll also see additional data files, such as a ybn for collision data or other auxiliary resources. When you assemble these into a cohesive package, you’re not just packaging art; you’re packaging behavior. A mod isn’t a one-file download with an image; it’s an ecosystem that the game loads, parses, and uses to render a believable, interactive object in the world.
The journey begins with decisions about creation versus acquisition. If you’re building from scratch, you’ll need a 3D modeling workflow that respects the game’s constraints and an approach for exporting models in compatible formats. You’ll decide on the level of detail for exterior meshes, interiors, and collision data. For those who prefer a faster path to playability, reputable sources for vehicle models or mod packs can provide robust starting points. Regardless of the path you choose, the end result should be a self-contained folder that contains the essential files: a mesh model file, an interior model file if applicable, a placement map, and a meta configuration. The files must be coherent; mismatched versions or missing dependencies will quickly become the source of in-world glitches that frustrate players and undermine trust in your server.
As you assemble your mod, you’ll start to see the importance of naming and packaging discipline. The server needs to know where to find the mod and what to load. A typical approach is to create a dedicated resource folder inside the server’s resources directory. Within that folder, you place all the required files and ensure the folder name matches the resource name you will declare in the server’s configuration. This discipline—keeping a single, well-named resource directory for each vehicle—translates into smoother restarts, clearer logs, and easier collaboration when multiple developers contribute assets. If you already have a fleet of mods, you’ll likely group related vehicles under a single resource umbrella or maintain separate resources per vehicle to minimize cross-dependency issues. The key is to keep your deployment reproducible: if a fellow admin can’t locate the model files or misreads a folder path, you’ll waste time chasing down avoidable misconfigurations.
With the files gathered, the next step is to place them correctly in the server’s file system. The conventional practice is to create a folder under resources, naming it for the mod set—for example, carmods or astonmachines—and then drop the yft, ydr, ymap, and meta files into that folder. The exact folder name matters because your server.cfg will reference it during startup. The explicit link between the path on disk and the server’s startup sequence is what makes the mod detectable by the engine. If the folder name in the server’s configuration does not match the actual path, FiveM will start without loading the mod, leaving you with a silent, unresponsive asset that looks as if it doesn’t exist. This is often the simplest source of early confusion for newcomers: the files are there, but the server simply doesn’t know to load them unless the resource is started. You can think of this as the bridge between your local work and the live world—the bridge must be intact for the cargo to traverse into gameplay.
Once the files are in place, you’ll configure the server to load the mod when the server starts. The standard practice is to add a start directive for each resource you want to load in server.cfg. A straightforward example would include lines like: start astonmartinone77, start astonmartinvanquish, start audia6, start audir8, and start bentleycontinentalgt. Each line points the server to a specific resource folder, instructing the game to include those assets in the startup sequence. It’s a simple line, but it is the moment where the mod moves from storage to inhabiting the live world. The exact wording may vary by server environment—some administrators prefer an ensure directive instead of start—but the underlying principle remains the same: you declare the resource, and the server loads it at startup. The interplay between the server.cfg and the resource folder is the keystone of reliability; if either side changes, you’ll need to adjust the other side accordingly.
Server configuration is not merely a mechanical step. It is a negotiation between performance and fidelity. A vehicle mod, especially one with multiple components, can have performance implications for the server and the client. You may need to consider loading order, streaming models, and the potential for conflicting metadata if another mod uses overlapping file names or similar game hooks. This is why you might encounter a config.lua within the resource directory that can handle more nuanced features like custom plates or map blips. These refinements often involve setting permissions, defining color palettes, enabling dynamic plates, or controlling how a vehicle appears in garages and other interactive spaces. The config.lua acts as the brain behind the physical assets, translating the static files into rules the game can apply when a vehicle is spawned or interacted with by players or admins.
After you’ve aligned the file structure and the startup configuration, testing becomes the decisive phase. Start the server, connect as a player or administrator, and verify that the mod appears where you expect it to appear—whether in a garage, a spawn point, or as an added spawn option via console commands. The testing phase often reveals subtle issues: misnamed files, mismatched game versions, or incorrect coordinate data within ymaps. If you spawn a vehicle using a command, you can confirm whether handling and performance are reasonable or if adjustments are needed in the meta configuration. In many cases, small tweaks to the handling values in the meta file can dramatically improve the way a vehicle feels under acceleration, braking, or cornering. If the vehicle lacks gallery-like details such as reflective surfaces, you’ll need to ensure that all texture paths and material definitions align with your mesh data. For those who want more granular control, adding add-on vehicle capabilities via scripts or plugins can extend how vehicles spawn, how license plates appear, and how vehicles interact with garages or other persistence mechanisms. The goal is not only to see a new model in the world but to have an experience that is repeatable and reliable across sessions and players.
The journey does not stop at placement and testing. Advanced features open a spectrum of possibilities that can elevate a mod from a simple skin swap to an immersive experience. Dynamic lighting and animations, for instance, can be crafted by using a refined modeling workflow that supports animated parts—think of tail fins that glow in response to headlights or engine status signals that respond to acceleration. These kinds of features require careful scripting to ensure smooth performance and compatibility with other mods. UV animation and video effects on car surfaces can add dramatic flair, but they also demand a coordinated pipeline: the right textures, the correct UV maps, and an orchestration script that plays back visual sequences precisely when the car is in motion or under particular lighting conditions. Visual effects, such as particle trails or subtle decays in exhaust visuals, can deepen the sense of realism if implemented with restraint and tested under diverse conditions. The overarching principle remains the same: every enhancement must be integrated in a way that respects the server’s performance envelope and the players’ experiences.
A practical mindset guides this work. Always back up your server files before introducing new mods. Maintain a changelog so you can rollback to stable configurations if something goes awry. Avoid untrusted sources; mod quality can vary, and a compromised asset can introduce security or performance risks that ripple through the entire server. It is also wise to consult official documentation and community guidelines to stay aligned with evolving best practices. The FiveM ecosystem evolves, and your workflow should evolve with it. In particular, the community frequently discusses new tooling or approaches for addon vehicles that streamline asset packaging, improve compatibility across game updates, and simplify spawn and management tasks. Keeping your workflow adaptable ensures you can incorporate improvements without sacrificing stability.
To bring all these ideas into a cohesive practice, consider a representative path that many builders follow. You gather a set of vehicle models and their associated maps and configuration data, package them into a single resource folder, and then declare that resource in server.cfg with a clear, explicit startup order. You then test carefully: load the server, verify that the mod loads, spawn a vehicle to check performance, and iterate on the configuration until the ride behaves as intended. If your mod includes features like custom plates, garage integration, or map blips, you extend the configuration with a dedicated config.lua to handle the extra behaviors. The reward is a mod that not only looks right but feels right in the hands of players who expect nuance and reliability. This balance—between artistry in modeling and discipline in deployment—defines a successful modding workflow for FiveM.
For those who want a concise reference point that codifies the practical core of this workflow, a well-regarded resource details the exact placement and configuration steps in depth. It is worth consulting when you start a new car mod project or when you encounter a hurdles that interrupts a straightforward load sequence. The repository lays out the essential steps in a way that complements the narrative above, offering concrete examples and a framework you can adapt as your mod library grows. As you progress, you’ll find that this approach scales well, and the same principles apply whether you’re adding a single vehicle or an entire fleet of themed mods. It’s about engineering a predictable process that makes modding feel less like a gamble and more like a craft.
As you close this chapter of the journey, you will have built a mental model that treats each modification as a self-contained system: a mesh, a map, a configuration, and a set of rules that bring the vehicle to life in the game world. You will have learned to keep the package cohesive, to reference it clearly from the server’s startup, and to test with a patient, iterative mindset. You will also have recognized that advanced enhancements—dynamic lighting, UV sequences, and particle effects—are not mere fireworks; they are extensions of a core, robust pipeline that ensures stability. The chapter’s guiding idea is not simply to add content but to create a repeatable, maintainable process that preserves server health while expanding the world’s possibilities. Finally, if you want to dive deeper into the practical toolkit of addon vehicles and their deployment, consult a centralized reference that documents the standardized approach to car modifications within this ecosystem: https://github.com/5kur4/5kur4-app
Internal link for practical installation guidance: How to Install Modifications Car. This resource can provide a complementary, step-by-step walkthrough aligned with the concepts discussed here, helping you translate theory into an actionable workflow while you prepare your next vehicle project. It’s not a replacement for your server documentation, but it offers a grounded, hands-on perspective that you can map directly onto your server’s file structure and startup configuration. As you incorporate these practices, your modding pipeline becomes less error-prone and more conducive to collaboration, iteration, and long-term maintenance.
In sum, the art of adding car modifications to FiveM is less about a single file and more about a reliable, repeatable process. It is about packaging the asset in a production-friendly way, placing it where the server can load it, declaring it in a configuration that the server can read, and testing with a patient, data-driven approach. It is a journey from raw model data to a fully integrated experience in the game world, where players can encounter a new automobile, admire its details, and interact with it through a carefully designed set of behaviors. The path is clear, as long as you keep your files tidy, your server configured, and your testing disciplined. And while the tools and interfaces may evolve, the core discipline—clear packaging, explicit startup, and careful testing—will continue to anchor your work in quality and reliability.
Spawning Power: Command-Driven Car Modifications and the Living Garage of a FiveM Server
The moment you decide to turn a static collection of vehicle models into a living, usable fleet on your FiveM server is the moment you begin translating design files into in-world behavior. Vehicle mods are more than just pretty skins or new meshes; they are a bridge between a developer’s intent and a player’s experience. When the goal is to let administrators and players spawn customized vehicles through simple commands, you enter a workflow where file formats, resource management, and in-game scripting must align with server policies and community expectations. The process begins with choosing a dependable foundation for your mods and ends with a flexible spawning system that still respects balance, performance, and security. The approach described here centers on integrating a dedicated add-on vehicle resource that is designed to work within the FiveM ecosystem, while leaving room for advanced customization that can evolve with your server’s needs. This path emphasizes reproducibility, maintainability, and a smooth player experience, rather than a one-off patch that creates more headaches than it solves.
To approach this task with confidence, view your modification files as components of a larger orchestration. A mod pack typically includes several essential elements: the visual mesh and interior, the world placement data, and the meta configuration that defines handling, performance, and other core attributes. In practical terms these elements translate into files with extensions like .yft, .ydr, .ymap, and .meta. Each file has a clear role in what players will see, where the vehicle exists in the world, and how it behaves when the engine roars to life or when the headlights cut through the night. But for a server administrator who wants the power to summon these vehicles at will, the critical pivot is choosing a reliable add-on system that exposes straightforward spawning commands, manages per-vehicle settings in a centralized way, and minimizes the risk of conflicts with other resources.
A robust foundation for this chapter is the FiveM-AddOnCars resource, a collection built to streamline the integration of custom vehicles into a server’s ecosystem. By design, it provides a starting point that reduces friction—packaging, spawning, and basic customization are structured to work cohesively, even when you introduce a handful of new models or update configurations. The practical value lies not only in having additional vehicles available, but in having built-in mechanisms to spawn them with consistent behavior and with a clear path to tailor license plates, spawn logic, and other preferences through a centralized file. This consolidation is crucial for admins who need predictable results across multiple sessions and players. When you set up such a resource, you’re not merely dropping a new model into the world; you’re establishing a reliable workflow that can scale as your server grows.
The first step is to obtain the vehicle pack you intend to use. This involves downloading a packaged collection in a compressed format, such as a ZIP, from a trusted repository or official source. After you’ve saved the package locally, you extract it and prepare to place it in the server’s resources directory. The goal here is to create a clean, isolated namespace for the modded vehicles so they don’t interfere with base game files or other mods. In the FiveM architecture, this usually means creating a dedicated folder inside your server’s resources directory—something descriptive enough to tell you at a glance what it contains, whether it’s labeled car-mods, addon-vehicles, or fiveaddoncars for the particular system you’ve chosen. The exact folder name matters because you will later reference it in the server’s startup configuration, so keep naming consistent with your documentation and with the content of the pack itself.
Within the resource folder you place all the core files that define each modification: models (.yft) for the exterior mesh, interior models (.ydr) if applicable, world placement data (.ymap) that determines where the vehicle becomes accessible in the game world, and a configuration file (.meta) that stitches the vehicle into the server’s expectations: name, handling, and performance properties. This modular approach, with a clear separation of assets and behavior, helps prevent a single misconfigured file from cascading into broader issues across the server. As you consolidate these assets, you also set expectations for how players will access them, whether through direct admin commands, garages, or automated spawns in specific zones. The broader aim is to create a predictable experience where admins and players alike know how to summon a modified vehicle and how it will behave once it’s spawned.
With the files in place, you move to the next practical milestone: wiring this new mod into the server’s startup sequence. Open your server.cfg file—this is the central manifesto that tells the FiveM server what to load when it boots. You add a straightforward directive that starts your mod resource, using the folder name you established earlier. For example, if your resource folder is carmods, you would insert a line such as start carmods. The simplicity of this command belies the careful preparation you’ve done in the previous steps. It ensures the resource is loaded at startup, making the vehicles available in the game world and ready for spawning commands as soon as a session begins. It’s a quiet, dependable step that has outsized impact on the reliability of your modded fleet.
Once the resource is loaded, you can give administrators the ability to spawn vehicles directly into the game through a command. The spawning workflow often includes a built-in command in the mod’s toolset, commonly appearing as something like /vehicle or a more specific variant that accepts a model name. The syntax is typically straightforward: you specify the model name of the vehicle you want to spawn, and the server handles the rest, attaching the correct model, license plate, and default position near the administrator or within a garage slot. For example, a typical usage pattern might be /vehicle astonmartinone77, which would summon the specified car if your config and model naming align with that descriptor. The practicality of this approach lies in the balance between simplicity and control: admins can quickly test new models, players can retrieve vehicles for events, and the server maintains a consistent standard for plate formats, ownership flags, and spawn behavior.
There is additional room for refinement through a configured client script, which may offer options such as random or custom license plates, spawn location logic, or proximity-based spawning. If your setup includes such scripting, you’ll find a client.lua (or equivalent) to edit. Through these edits you can refine whether the plate is generated deterministically or procedurally, how colors are assigned, and whether the vehicle appears in a particular garage or in a near-me area. These tweaks are not mere niceties; they give you the granularity needed to balance roleplay incentives with server stability. If your goal is to create a consistent spawning experience for a wide user base, you’ll want to codify these choices in your config and keep a careful log of the specific model names and their corresponding properties. The upshot is not just a one-time implementation, but a repeatable pattern you can apply to future vehicle additions.
To make the experience accessible and maintainable, you should also provide a straightforward reference in the community’s shared documentation. A practical touch is to offer a simple link to a setup guide that explains how to install and configure modifications on your server. For instance, you can reference a dedicated guide such as How to install modifications for cars, which aligns with the steps described here and helps new admins ramp up quickly. The anchor text can emphasize the core idea—how to install modifications for cars—so readers know exactly what to expect when they click. This internal link serves several purposes: it reinforces consistency in setup procedures, helps avoid duplication of explanations across chapters, and directs readers to a resource that complements the current discussion without duplicating content.
With the spawning framework in place, testing becomes a central discipline. Start the server, join as an admin, and attempt to spawn vehicles from the list you’ve configured. If a model doesn’t appear, you’ll need to inspect the resource’s console output for warnings or errors about missing files, misnamed models, or mismatched metadata. This is where the separation of concerns—assets in one folder, behavior in .meta and script files—pays off. A missing yft or a mismatched model name in the .meta can cascade into a non-spawnable failure, but the modular approach makes it easier to pinpoint and fix. The testing process should be patient and meticulous, focusing not only on whether the vehicle appears, but also on whether its handling, lighting, and interior alignment meet the server’s design standards. If a vehicle’s handling feels off or its colors don’t render as expected, you’ll return to the .meta to adjust handling flags or to the .yft/.ydr files to verify mesh alignment. In time, this iterative loop becomes second nature, a rhythm that lets you scale your fleet with confidence while preserving performance.
As you extend your capabilities, you may find it valuable to augment the mod’s functionality with advanced tools that enhance vehicle interaction and realism. Sollumz, a Blender plugin, can simplify the process of exporting models with animation rigs and dynamic parts, while Luxart Vehicle Control provides a Lua-based framework to enrich vehicle physics and control. This pairing enables you to not only spawn cars but also to craft a richer in-game experience, such as animated tail fins that respond to vehicle speed, opening doors on command, or lighting effects that react to engine status. The core idea remains the same: integrate a stable spawning system with a flexible platform for ongoing enhancements. You’ll want to bracket these enhancements with careful version control and compatibility checks, because introducing new tools into a live server increases the potential for conflicts with existing resources or with the server’s performance budget.
A practical reminder threads through every stage of this process: back up, verify, and document. Always keep a backup of your server files before adding new mods, especially when they involve new meshes, scripts, or placement data. The FiveM ecosystem welcomes modification, but it also thrives on disciplined maintenance. Sharing your configuration notes—model names, spawn settings, license plate formats, and the exact server.cfg line used to start the resource—helps others replicate your setup and accelerates troubleshooting if issues arise. It also makes it easier to revert changes if a new mod introduces instability or if a server update changes how certain files are loaded. If you maintain a tidy documentation trail, you’ll avoid the temptation to bypass safeguards in pursuit of speed, and you’ll preserve a modular approach that serves you well as the server evolves.
On the social side of modding, there is value in aligning with community resources that standardize best practices. The official documentation and widely adopted repositories offer a baseline for what works reliably in most environments. In particular, the resource-based spawning approach described here pairs well with a centralized configuration strategy. It encourages you to think of each new vehicle as a unit with clearly defined inputs and outputs, so you can reason about performance impacts and gameplay balance before you deploy to a live environment. When you present this system to your players, you can cast it as a feature that enables controlled customization within a consistent framework, rather than a free-for-all of unbounded mods. This framing helps sustain trust in your server’s moderation and reduces friction between players who crave new content and those responsible for server stability.
To bring this home, consider the concrete steps you’ve undertaken and how they interlock. You chose a solid mod foundation, arranged your files into a coherent resource, wired the startup into server.cfg, and exposed a spawning command that can be invoked by admins or players with the proper permissions. You provided a pathway for license plate and color customization, along with a testing regimen that confirms each vehicle’s presence and behavior in the world. You added optional enhancements through Sollumz and Luxart, expanding beyond mere appearance to a richer mechanical and visual experience. And you anchored all of this with a simple internal reference to a broader installation guide so new admins can get up to speed quickly. The result is a vibrant, programmable garage that breathes life into your FiveM server and invites players to engage with your world in new, meaningful ways.
If you’re looking for a practical pathway to the exact steps described here, you can explore a concise, in-depth reference that aligns with how to install modifications for cars. It serves as a bridge between the general guidance in this chapter and the hands-on execution on your own server. For those who want to see a broader landscape of vehicle integration, an external resource to consult is the FiveM-AddOnCars repository, which provides documentation, installation guides, and community support that can help you troubleshoot and extend your setup as your server evolves. This external resource is a valuable complement to the in-game and on-server documentation you maintain, ensuring you stay current with updates and community practices. By combining these elements—clear local configuration, reliable spawning commands, and thoughtful integration with broader toolchains—you set a course for a modular, scalable system that can grow with your community’s needs.
Internal link reference: if you’re seeking a practical companion article that walks through the initial installation steps in a straightforward way, you can explore the broader guide on how to install modifications for cars. It provides context and hands-on steps that are compatible with the approach outlined here, helping you maintain consistency as you scale up. Link: How to install modifications for cars.
External resource reference: for a robust, up-to-date repository that complements this approach with a ready-made vehicle pack and accompanying configuration files, consult the FiveM-AddOnCars project pages and documentation, which offer deeper insights into command-based spawning, license plate customization, and advanced tuning options. This external resource helps you verify compatibility and discover further enhancements to your spawning workflow. https://github.com/5kur4/FiveM-AddOnCars
In sum, turning a curated set of vehicle mods into a living, spawner-friendly fleet is not merely a technical task; it is a design exercise in reliability, balance, and player engagement. By embracing a modular resource with clearly defined assets, a straightforward startup process, and a flexible command-based spawning system, you create a foundation that can adapt to new models, new gameplay scenarios, and evolving community expectations. Your server becomes not just a place to drive new cars, but a playground where modification, management, and gameplay converge in a coherent, programmable ecosystem.
null
null
Final thoughts
Bringing your vision to life through car modifications in FiveM is not just a technical endeavor; it’s a creative journey that empowers you to showcase your personality and craftsmanship. From preparing files to integrating commands and testing advanced features, each step enriches your gameplay and your connection to the modding community. Embrace the art of vehicle customization in FiveM, and let your digital rides reflect your unique style. Whether you’re a hobbyist, a professional, or just someone passionate about cars, there’s a place for your creativity in this thriving ecosystem.